The I‑129 petition is the gateway for employers seeking to bring foreign talent into the United States under categories such as H‑1B, L‑1, and O‑1. A single error—missing a signature, mis‑typed code, or an overlooked fee—can trigger a Request for Evidence (RFE) or outright denial, costing both time and money. This guide walks a local applicant through every field, highlights the documents you’ll need, and offers practical tips to keep the process moving smoothly.
Understand the Stakes Before You Start
USCIS treats the I‑129 as a legal contract. The form not only conveys your employee’s qualifications but also binds the employer to a wage and working condition commitment. Because the filing can affect future visa extensions and even green‑card eligibility, precision matters. Treat the form as a checklist rather than a one‑off paperwork task.
Gather Every Piece of Evidence Up Front
Missing documentation is the most common cause of delays. Assemble the following before you open the PDF:
- Employer’s supporting letter: outlines job duties, salary, and why the position requires a non‑immigrant worker.
- Labor Condition Application (LCA): approved by the Department of Labor for H‑1B and H‑1B1 petitions.
- Beneficiary’s credentials: diplomas, transcripts, professional licenses, and any prior U.S. work authorization.
- Fee schedule: confirm the current filing and premium processing fees on the USCIS website.
- Proof of employer’s business: tax returns, articles of incorporation, and office lease.
Having these items on hand eliminates the need to pause mid‑section and reduces the chance of overlooking a required attachment.
Complete the I‑129: A Section‑by‑Section Walkthrough
Part 1 – Basic Information
Enter the petitioner’s name exactly as it appears on the tax return. Use the same legal business name throughout the form; “DBA” aliases belong in the remarks field, not the primary name line. For the “U.S. Mailing Address,” double‑check zip code formatting—USCIS rejects entries that lack the five‑digit code.
Part 2 – Petition Type
Choose the correct classification code (e.g., “H‑1B Specialty Occupation”). A common slip is selecting “H‑2B” for seasonal workers when the position is actually “H‑1B.” Verify the code against the current USCIS classification table, which is updated annually.
Part 3 – Beneficiary Data
Copy the passport number verbatim. If the foreign national holds multiple passports, list the one that will be used for travel to the U.S. For the “Date of Birth” field, use the MM/DD/YYYY format—USCIS will flag any deviation as an error.
Part 4 – Additional Information
This is where you attach the LCA, supporting letters, and any prior immigration filings. Use the “Attachment” box to label each PDF (e.g., “LCA‑2024‑01.pdf”). Over‑labeling—adding “Copy of” or “Draft”—confuses adjudicators; keep filenames concise and accurate.
Part 5 – Signature
The petitioner’s signature must be original or a qualified electronic signature. A scanned signature printed on a photocopier is not acceptable. If you file electronically, follow the USCIS e‑filing prompts exactly; a mismatched PIN can lock your account for 30 days.
Spot the Pitfalls Before You Submit
- Inconsistent dates: Ensure the “Start Date” is later than the “Date of Intended Employment.” USCIS rejects petitions with backward timelines.
- Wrong fee amount: Verify the total fee on the payment voucher; underpaying triggers an automatic rejection, while overpaying requires a refund request.
- Missing signatures: Both employer and attorney signatures are required for most categories. A missing signature flag appears on the USCIS receipt notice.
- Unclear abbreviations: Write out “United States” instead of “U.S.” in the address fields; USCIS treats the abbreviation as an invalid entry.
Final Checks and Submission
Run a last‑minute review using USCIS’s “Form I‑129 Checklist” PDF, which highlights mandatory fields and common omissions. Then:
- Save the completed form as a PDF with a clear name (e.g., “I129‑AcmeCorp‑2024.pdf”).
- Attach all supporting documents in the order listed in Part 4.
- Pay the filing fee through the USCIS online portal or include a money order with the paper filing.
- Mail the packet to the address specified for your classification, using a trackable service (USPS Priority Mail or UPS). Retain the tracking number for proof of delivery.
After filing, monitor the case status on the USCIS website using the receipt number. Expect an initial receipt within 2‑3 weeks; an RFE, if any, typically arrives within 30 days of filing.
What Comes Next?
If USCIS approves the petition, the beneficiary receives a Form I‑797 Notice of Action, which serves as the basis for a visa interview at a U.S. consulate. If an RFE is issued, respond promptly—USCIS grants a 60‑day window, and missing the deadline results in denial.
By treating the I‑129 as a living document—checking, re‑checking, and attaching every required piece—you dramatically improve the odds of a clean approval. The extra diligence today prevents costly delays tomorrow, keeping your talent pipeline flowing without interruption.
Organograma EXCO | Standard Bank Moçambique
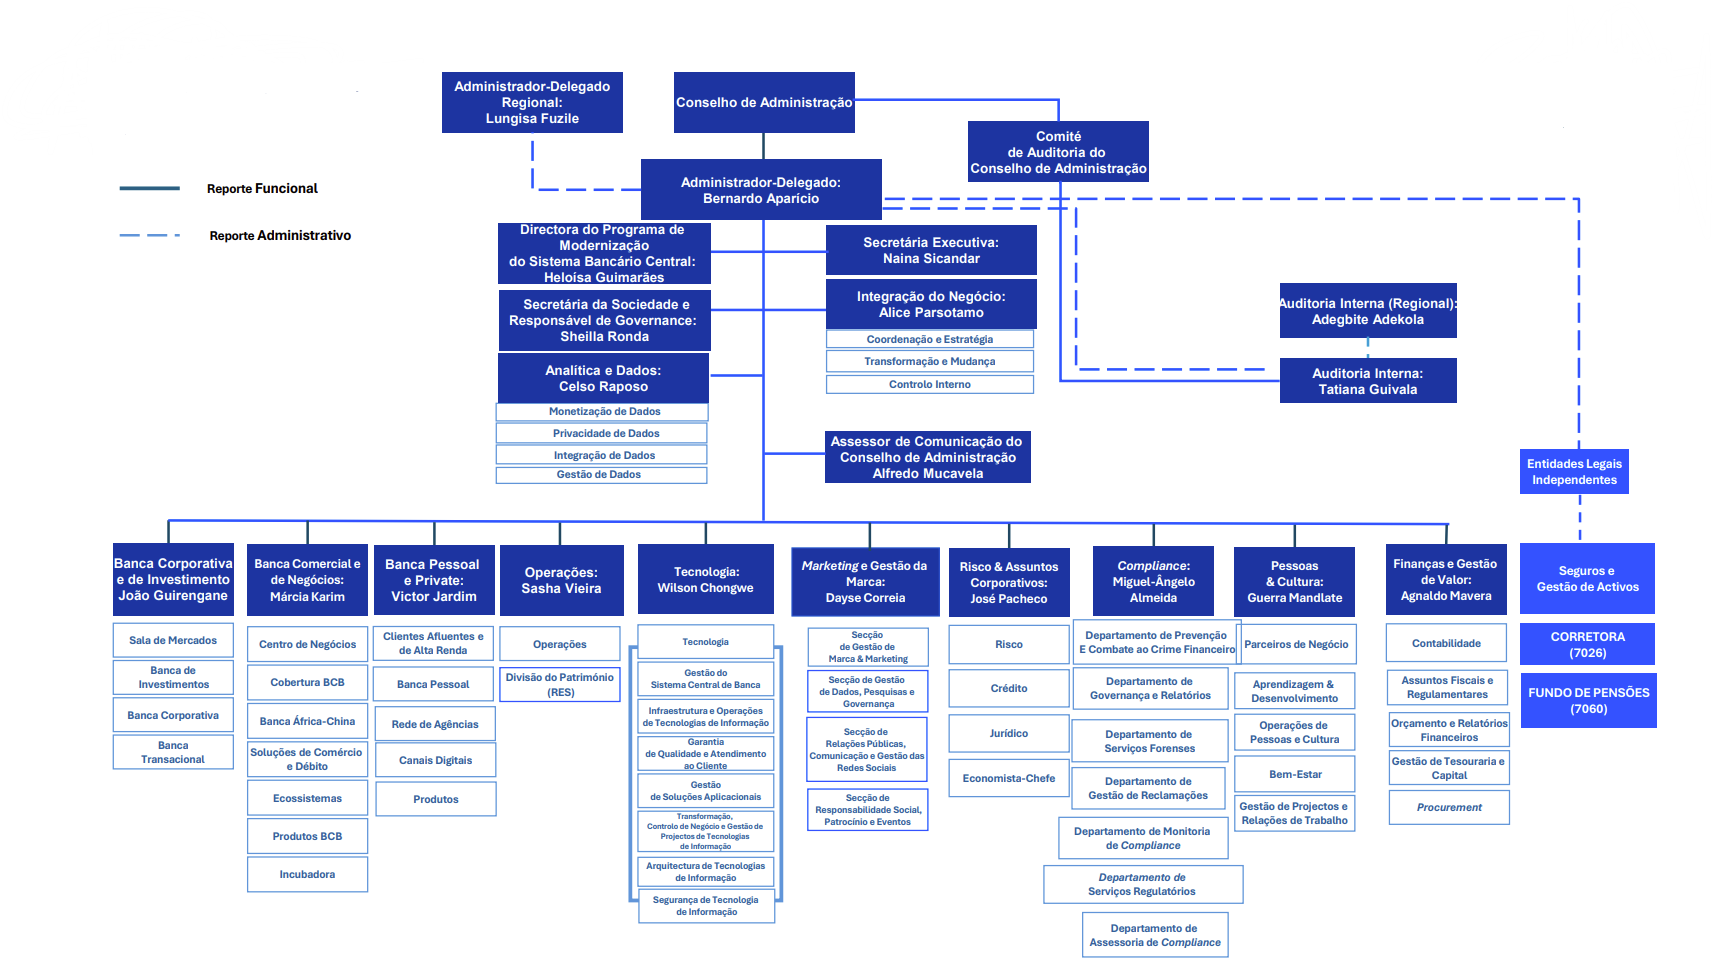
Organograma EXCO | Standard Bank Moçambique